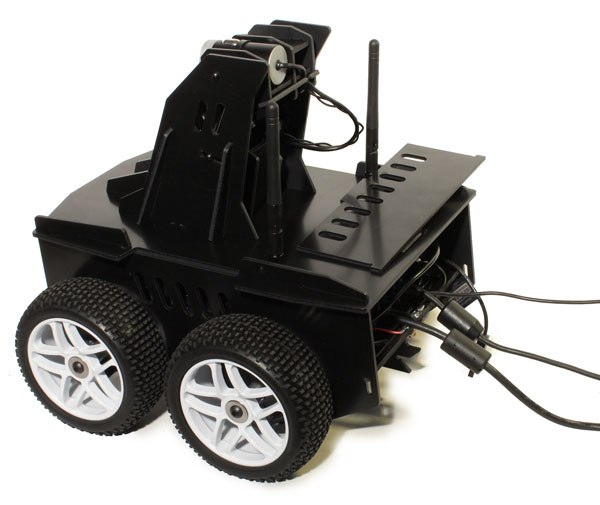
Should you ever have to do any major software maintenance on Oculus Prime (such as re-installing the operating system or replacing the SSD), it’s easiest to set it up like a standard PC
Step 1 – Unplug Battery
When the Oculus Prime java server software is not running for extended periods, it’s safest to unplug the battery.
Step 2 – Attach Monitor, Keyboard and Mouse
Remove the rear panel of the robot, and unplug existing USB cables attached to the motherboard to free up two ports (preferably the webcam and Xtion cables, if you can tell which is which — these will likely be the ones that are taking up the most space in the rear of the mainboard cavity). Then plug in a monitor into either the HDMI port or VGA port of the motherboard, as well as a USB keyboard and mouse into the free USB ports.
Step 3 – Attach the charging dock
Organize the cables protruding from the back to allow for the charging dock to be shoved into place, like so:
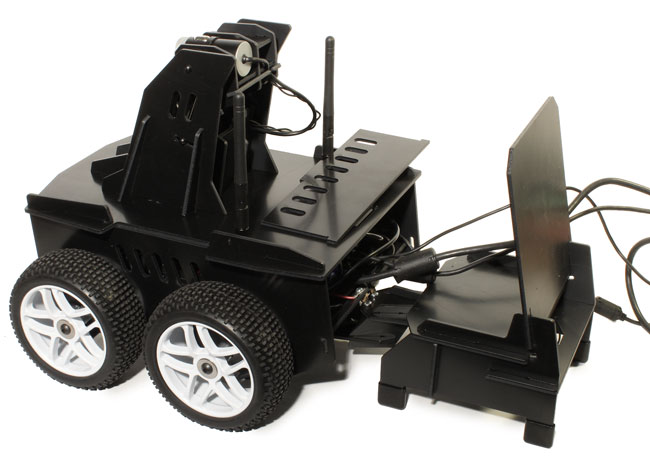
Connection of the dock should power up the motherboard. If it doesn’t, you might have to manually trip the motherboard’s reset switch and set the BIOS Always Power On Setting