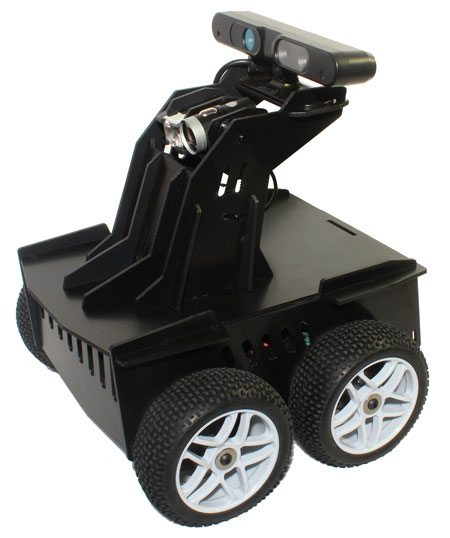
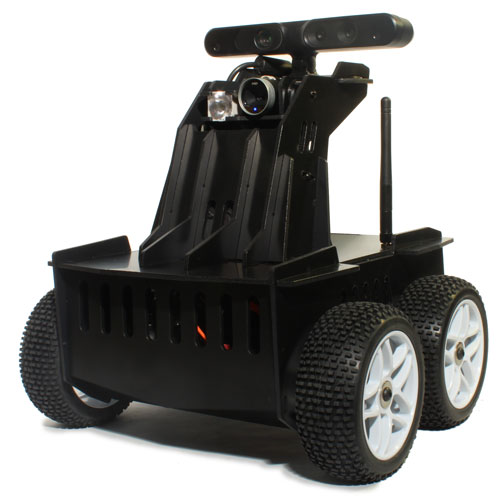
Step 1 – Top and Front Panel
Plug everything into the motherboard: DC power, MALG and Power PCB USB cables, audio cable, and the camera and Xtion (if present) USB cable.
DO NOT try to connect the wifi antenna pigtails yet, if you have them, as the pigtails disconnect from the card terminals very easily. Do it in the next step.
Slide the top assembly together with the chassis, and pop in the front panel:
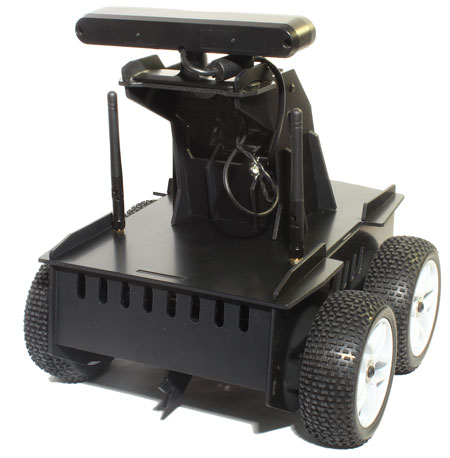
Step 2 – Attach Antennas and Rear Panel
Reach in with some needle nose pliers, to hold the pigtails in position in the antenna mounting holes in the plastic top plate. Then tighten the nuts on top, and screw on the antennas.
Attach the rear panel, being careful to make sure no cables are obstructing motion of the charge contact plastic ‘leaf springs’ (this can effect quality of the charge connection).
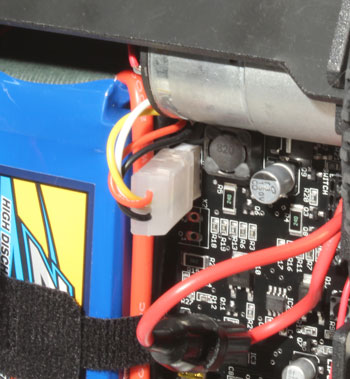
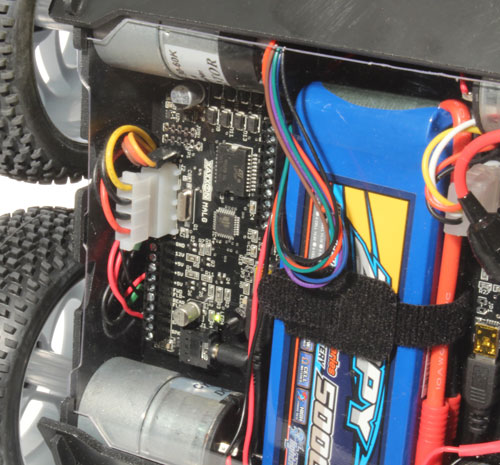
Step 3 – Plug in Battery
NOTE: This is for future reference only – you should only plug in the battery if you have the Oculus Prime Server Application running on the system (to avoid battery damage)
Plug in the battery, lining up the 2 tabs on the connector with the 2 gaps in the receptacle on the PCB (black lead towards rear of robot).
Step 4 – Install Bottom Panel
The clear PETG bottom panel is held in place by 3 tabs on either side. The trick is to slide one side in first, flexing it so only the two outermost tabs engage while the inner tab slides over freely, then pop in all 3 tabs on the other side, then the middle tab on the 1st side.
Assembly complete!
NEXT: Software Setup